
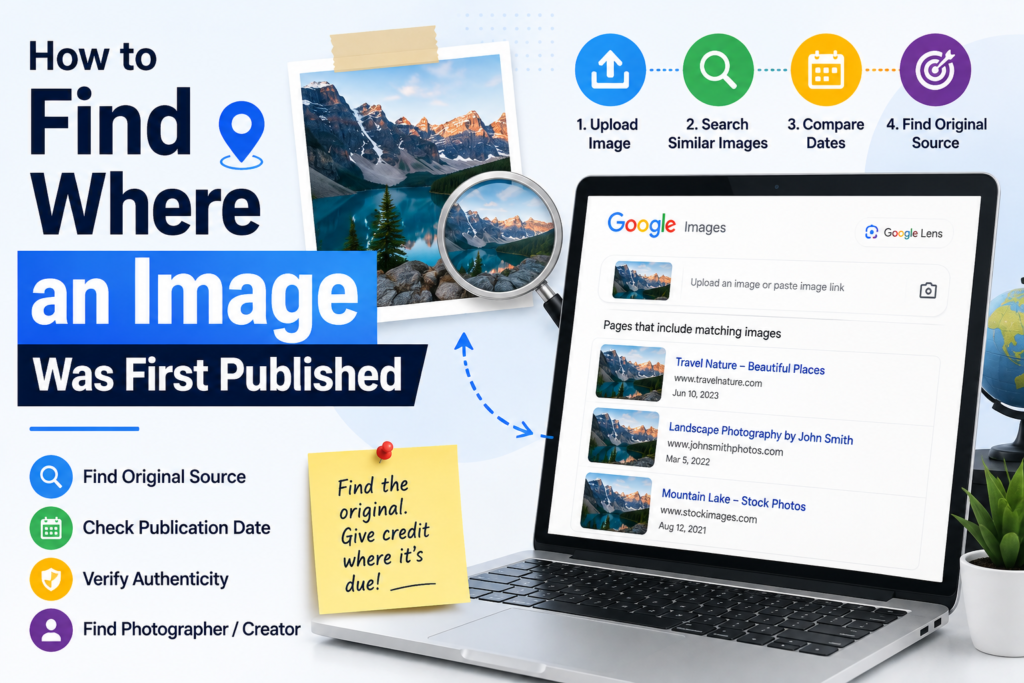
Have you ever found an image online and wondered where it originally came from?
Maybe you found a photo on social media, a blog, or a website, but you want to know who first published it. You may also want to find the original photographer, the original article, or a higher-quality version of the image.
The good news is that you can often trace an image back to its earlier sources using reverse image search.
However, finding the exact first publication is not always possible. An image may have been copied many times, edited, cropped, or uploaded to several websites.
In this guide, we’ll show you the easiest ways to find where an image was first published.
Why Find the Original Source of an Image?
There are several reasons you may want to trace an image.
You might want to:
- Find the original photographer or creator
- Locate the original article
- Find a higher-resolution version
- Check when the image was published
- Verify whether an image is genuine
- Find the original context of a photograph
- Check whether an image has been copied
- Find the correct copyright or licensing information
The important thing to remember is that the oldest result you find is not automatically the original source.
Someone could have uploaded an old image years after it was originally created.
1. Start With Google Lens
One of the easiest ways to investigate an image is with Google Lens.
Open Google and use the Lens option in the search box.
You can upload an image from your computer or phone, or use an image that is already online.
Google Lens can identify what appears in the image and find visually similar results.
For example, if you upload a photograph of a famous building, Lens may show:
- Similar images
- Websites using the image
- Information about the subject
- Related search results
Look through the results carefully rather than choosing the first website you see.
2. Upload the Original Image
If you have the original image file, upload that instead of taking a screenshot of it.
A clean, high-quality image gives reverse image search tools more information to work with.
For example, if you have:
mountain-photo.jpg
upload that file directly.
If you only have a screenshot, crop away unnecessary parts such as browser controls, text, or surrounding content before searching.
This can make the search more focused.
3. Look for Exact or Very Similar Matches
After uploading the image, look through the results for pages that contain the same image.
Don’t focus only on visually similar pictures.
You want to find pages where the actual image appears.
Compare details such as:
- Image composition
- Cropping
- People or objects
- Background
- Watermarks
- Image quality
- Orientation
A similar-looking image is not necessarily the same image.
4. Check the Dates of the Results
Once you find websites using the same image, compare their publication dates.
Suppose you find:
Website A — March 2024
Website B — July 2023
Website C — January 2022
Website C published the image earlier than the other two.
But this still does not prove that Website C was the first publisher.
The image may have appeared somewhere else before January 2022.
Think of publication dates as clues, not final proof.
5. Look for the Original Photographer or Creator
Sometimes the best way to find the original source is to identify the person who created the image.
Look for:
- Photographer name
- Artist name
- Company name
- Website watermark
- Social media username
- Copyright notice
- Image credit
For example, you might find an image on a blog with a credit saying:
Photo by John Smith
Search for that photographer’s name together with a description of the image.
You may discover the photographer’s portfolio or original post.
6. Search the Image URL
If you found the image on a website, check its URL.
Sometimes the image URL contains useful information.
For example:
example.com/uploads/2023/06/mountain-sunset.jpg
The URL suggests that the image may have been uploaded in June 2023.
However, URL dates should not be treated as proof.
A website could have moved or renamed the image later.
7. Search the Image Filename
The filename can sometimes provide another useful clue.
For example:
john-smith-mountain-lake.jpg
or:
new-york-city-skyline-2022.jpg
Copy the filename and search it on Google.
You may discover:
- The original website
- Other pages using the same image
- The photographer
- Older versions of the image
- Image credits
This works particularly well when the filename is descriptive rather than something generic like IMG_1234.jpg.
8. Search for the Image Credit
If the image appears inside an article, don’t just look at the picture.
Look around it.
The page may contain a photo credit, caption, or source link.
For example:
Image: Jane Doe / Example Photography
You can then search for:
Jane Doe Example Photography mountain
This may lead you to the creator’s website or original post.
9. Try More Than One Reverse Image Search Tool
Don’t rely on only one search engine.
Different reverse image search tools can return different results.
You can try:
- Google Lens
- Bing Visual Search
- TinEye
Upload the same image to more than one service and compare the results.
One service may find an older page that another service does not show.
This is especially useful for older images or images that have been copied many times.
10. Search for Cropped Versions
Sometimes the original image has been heavily cropped.
A reverse image search may struggle to identify it.
Try cropping the image differently and searching again.
For example, if the image contains a person, logo, and background, you could search just the person’s face or the main object.
You can also try searching the entire image and then a distinctive section of it.
Different crops can produce different results.
11. Check for Watermarks
Watermarks can be extremely useful when tracing an image.
Look carefully at the corners and edges of the image.
You might find:
- A photographer’s name
- A company logo
- A website address
- A social media username
Search that name or username.
If the watermark belongs to the original creator, it may lead you directly to the source.
However, be careful. Some websites add their own watermark to images they copied from somewhere else.
12. Compare the Oldest Versions
Once you find several websites containing the same image, compare their versions.
The earliest version may contain details that later copies removed.
For example, an older version might have:
- The original caption
- Photographer credit
- Full image dimensions
- Original watermark
- Additional context
A later website may have cropped the image or removed the credit.
This is why looking at multiple results is important.
Can You Always Find the First Published Location?
No.
There is no guarantee that you can find the exact first publication of an image.
An image might have existed offline before it was uploaded to the internet. It could also have been posted on a website that is no longer available.
Other possibilities include:
- The original page was deleted
- The website disappeared
- The image was renamed
- The image was cropped
- The image was edited
- The original social media post was removed
- Search engines never indexed the original page
In these situations, you may only be able to find the earliest publicly available source.
How to Tell If You Found the Original Source
Before deciding that a website is the original source, check several clues.
Ask yourself:
Does the website belong to the creator?
Does the page have an original caption or description?
Is there a photographer or creator credit?
Does the publication date make sense?
Is this the highest-quality version?
Do other websites credit this website?
The more clues that point to the same source, the more confidence you can have.
A Simple Method to Trace an Image
If you want a quick process, follow these steps:
Step 1: Get the best-quality version
Use the original image if possible.
Step 2: Search it with Google Lens
Upload the image and look for exact matches.
Step 3: Check several results
Don’t stop at the first result.
Step 4: Compare dates
Look for older versions of the image.
Step 5: Check credits
Look for the photographer, artist, website, or company name.
Step 6: Search the filename
The filename may reveal useful information.
Step 7: Try another reverse image search
Compare the results from another service.
Step 8: Verify the source
Look for multiple clues before calling a website the original source.
Final Thoughts
Finding where an image was first published can take a little investigation, but reverse image search makes the process much easier.
Start with Google Lens, then compare exact image matches, publication dates, filenames, watermarks, captions, and image credits.
If possible, check several sources instead of trusting the first result.
And remember: the oldest webpage you find is not necessarily the original source. Your goal is to find the earliest reliable evidence of where the image came from and, when possible, identify the original creator.
This approach can help you find the source of photographs, illustrations, logos, screenshots, and many other types of images online.
Read more such blog on Image Search Techniques