
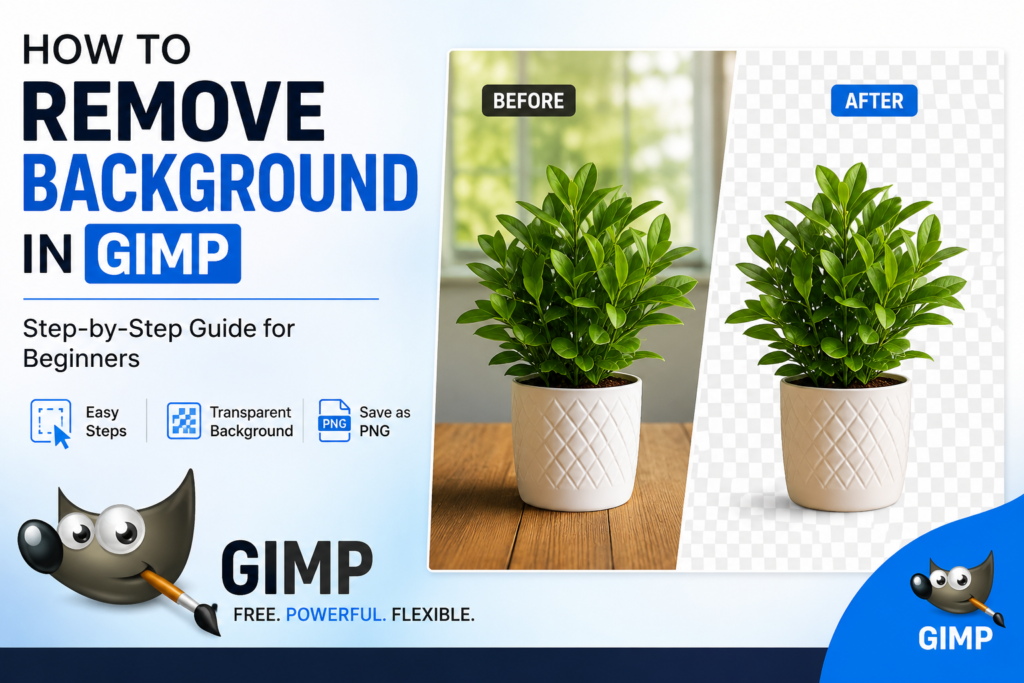
Removing the background from an image can be useful when you want to create a product image, logo, profile picture, social media graphic, or other design.
You do not always need expensive photo editing software for this. GIMP is a free image editing program that can help you remove backgrounds from images.
In this guide, we will explain how to remove background in GIMP using simple steps.
What Is GIMP?
GIMP stands for GNU Image Manipulation Program. It is a free image editor that you can use to edit photos, remove backgrounds, resize images, add text, and much more.
One useful feature of GIMP is its ability to make the background of an image transparent.
How to Remove Background in GIMP
There are several ways to remove a background in GIMP. The best method depends on the type of image you are editing.
For a simple image with a clear subject, you can use the Fuzzy Select Tool or Foreground Select Tool.
Here is an easy method for beginners.
Step 1: Open Your Image in GIMP
First, open GIMP on your computer.
Click File > Open and select the image from your computer.
Your image will now appear in the GIMP workspace.
Step 2: Add an Alpha Channel
Before removing the background, you need to make the image layer transparent.
Right-click your image layer in the Layers panel.
Select:
Add Alpha Channel
This step is important because it allows you to create a transparent background.
Step 3: Select the Background
Now you need to select the background that you want to remove.
For a background with similar colors, the Fuzzy Select Tool is useful.
You can find it in the GIMP toolbox. Its shortcut is usually U.
Click on the background area of your image.
GIMP will select an area with similar colors.
If the selection is too small or too large, you can change the Threshold setting and try again.
Step 4: Delete the Background
Once the background is selected, press the Delete key on your keyboard.
The selected background should disappear.
You may see a gray checkerboard pattern. This means the area is now transparent.
If the entire image disappears, you probably selected the subject instead of the background. In that case, use Select > Invert and try again.
Step 5: Clean Up the Edges
After removing the background, check the edges of your subject.
Sometimes small parts of the old background remain around the subject.
You can use tools such as the Eraser Tool to remove unwanted areas.
Zoom in on the image to work more accurately around hair, clothes, objects, or other detailed areas.
Step 6: Save the Image With a Transparent Background
Do not save the image as a JPG if you want to keep the transparent background.
Instead, use the PNG format.
Go to:
File > Export As
Choose a file name and select PNG as the file format.
Then click Export.
Your image will now have a transparent background.
Other Ways to Remove Background in GIMP
The Fuzzy Select Tool works well when the background has similar colors. However, it may not work well with complicated images.
GIMP also provides other tools that can help.
Free Select Tool
The Free Select Tool allows you to manually draw around the subject.
This can be useful when the subject has a simple shape.
Select the tool and click around the object you want to keep. Once you finish the selection, you can invert the selection and delete the background.
Foreground Select Tool
The Foreground Select Tool can be useful when the subject and background have different colors.
First, roughly select the subject. GIMP will then ask you to mark the foreground area.
After processing the selection, you can remove the background.
This method can take a little more time, but it can work better for complicated images.
Tips for Better Background Removal
Here are some simple tips to get better results:
- Use a high-quality image.
- Choose an image with a clear subject.
- Zoom in when cleaning the edges.
- Use the Fuzzy Select Tool for simple backgrounds.
- Use the Free Select Tool for simple objects.
- Check the image carefully before exporting.
- Save the final image as PNG to keep transparency.
Why Use GIMP to Remove a Background?
GIMP is a good option because it is free and provides many image editing tools.
You can remove backgrounds without paying for expensive software. You can also use GIMP for photo editing, graphic design, resizing images, adding text, and many other tasks.
It may take some practice to get perfect results, especially with images containing hair, shadows, or complex backgrounds.
Final Thoughts
Removing a background in GIMP is easier once you understand the basic steps.
Open your image, add an Alpha Channel, select the background, delete it, clean the edges, and export the image as a PNG.
For simple backgrounds, the Fuzzy Select Tool is usually a good place to start. If the image is more complicated, you can try the Free Select Tool or Foreground Select Tool.
With a little practice, you can easily remove backgrounds from images using GIMP.
Read more on Image Search Techniques blogs.